Organizing your crop space & planning photo projects
5 min readCrop roomCraft spaceOrganizing craft supplies
The other day, I went to a friend’s house (she’s also a customer) because she asked for help organizing her crop room and her project and photos.
The other day, I went to a friend’s house (she’s also a customer) because she asked for help organizing her crop room and her project and photos. We had a great visit, got some things accomplished, and she now has some direction for her photo projects. So, today, I thought I’d share some of the things she and I talked about, in case they might help you, too.
The first thing I did was send her an email with some “broad stroke” basics:
- Are all of your photos in the same room? If not, round them up and get them all in one place. Great first step!
- What is the album you would like to do first? Do you have easy access to those pictures? If not, maybe do a different album first, one that you can easily get to everything and finish it up quickly for a feeling of accomplishment.
- You may want to consider doing Fast2Fab or slide-in albums first – to help you get the photos in albums so they can be enjoyed. If you want to go back later and put them on craftier pages, you can always do that, and they will already be in the correct order.
- Power Sort boxes (which hold 1200 photos) are a great way to organize lots of photos. They come with dividers that you can write on with pencil and erase later, if you want to use them again, and six “cubbies”, which each hold 200 photos. A great idea is to load one cubbie with the photos you are currently working on, so you can bring it to a crop or work on it at home and you don’t have to take the whole box of photos.
Once I got there, we talked about some other issues she was having and how they could be solved or lessened.
- If you are like my friend and have a crop space that has to share with other crafts or tasks, it’s a good idea to have a station, or workspace, for each. That way, when you want to scrapbook, you don’t need to move the knitting, sewing, jewelry making, taxes or monthly bills out of the way first. If it’s not possible to have a dedicated space for each thing, at least separate them into boxes, bins, organizers of some sort so they are not all mixed up.
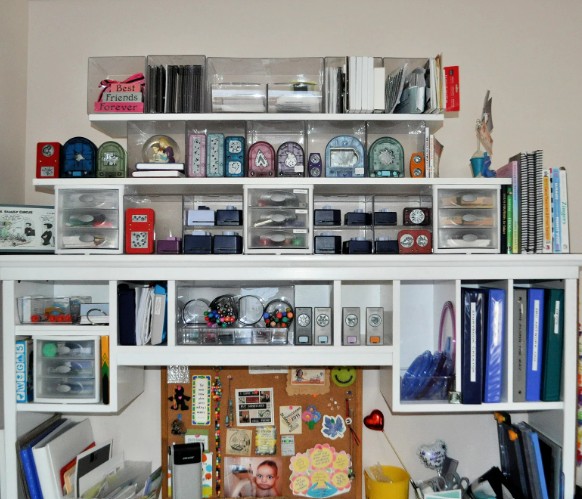
- When you are trying to put a lot of stuff in a small space (as is often the case with our craft/scrapbooking spaces!), it’s good to remember to BUILD UP! Bookcases that are as tall as possible, shelves on the walls, desks with hutches; all of these provide tons of extra space by using the vertical space in your room. IKEA, Target, even Craig’s List and garage sales are great options for finding these items.
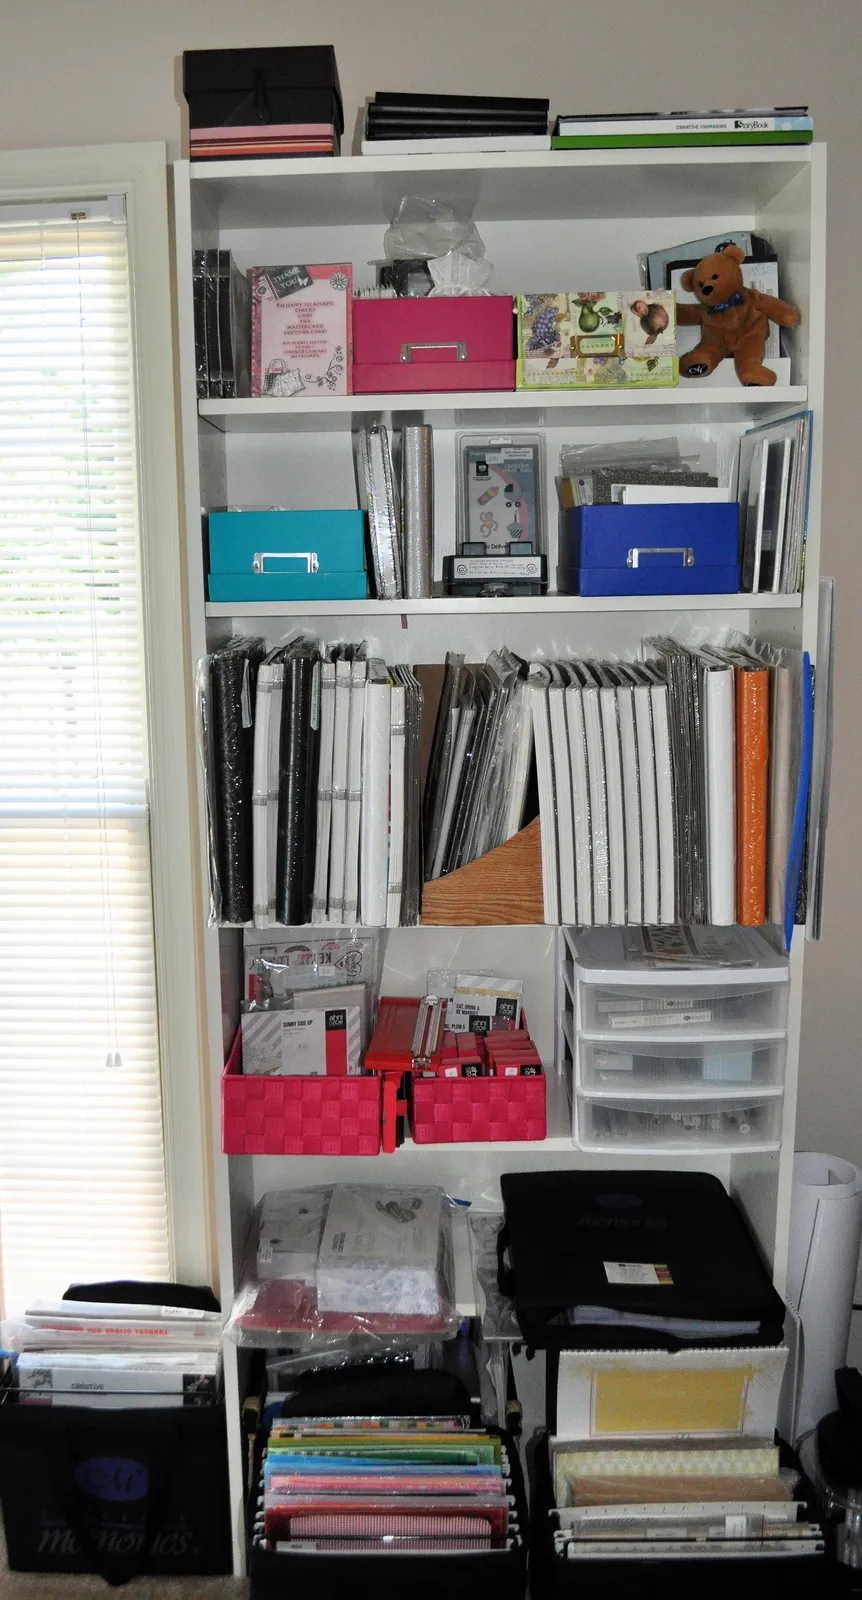
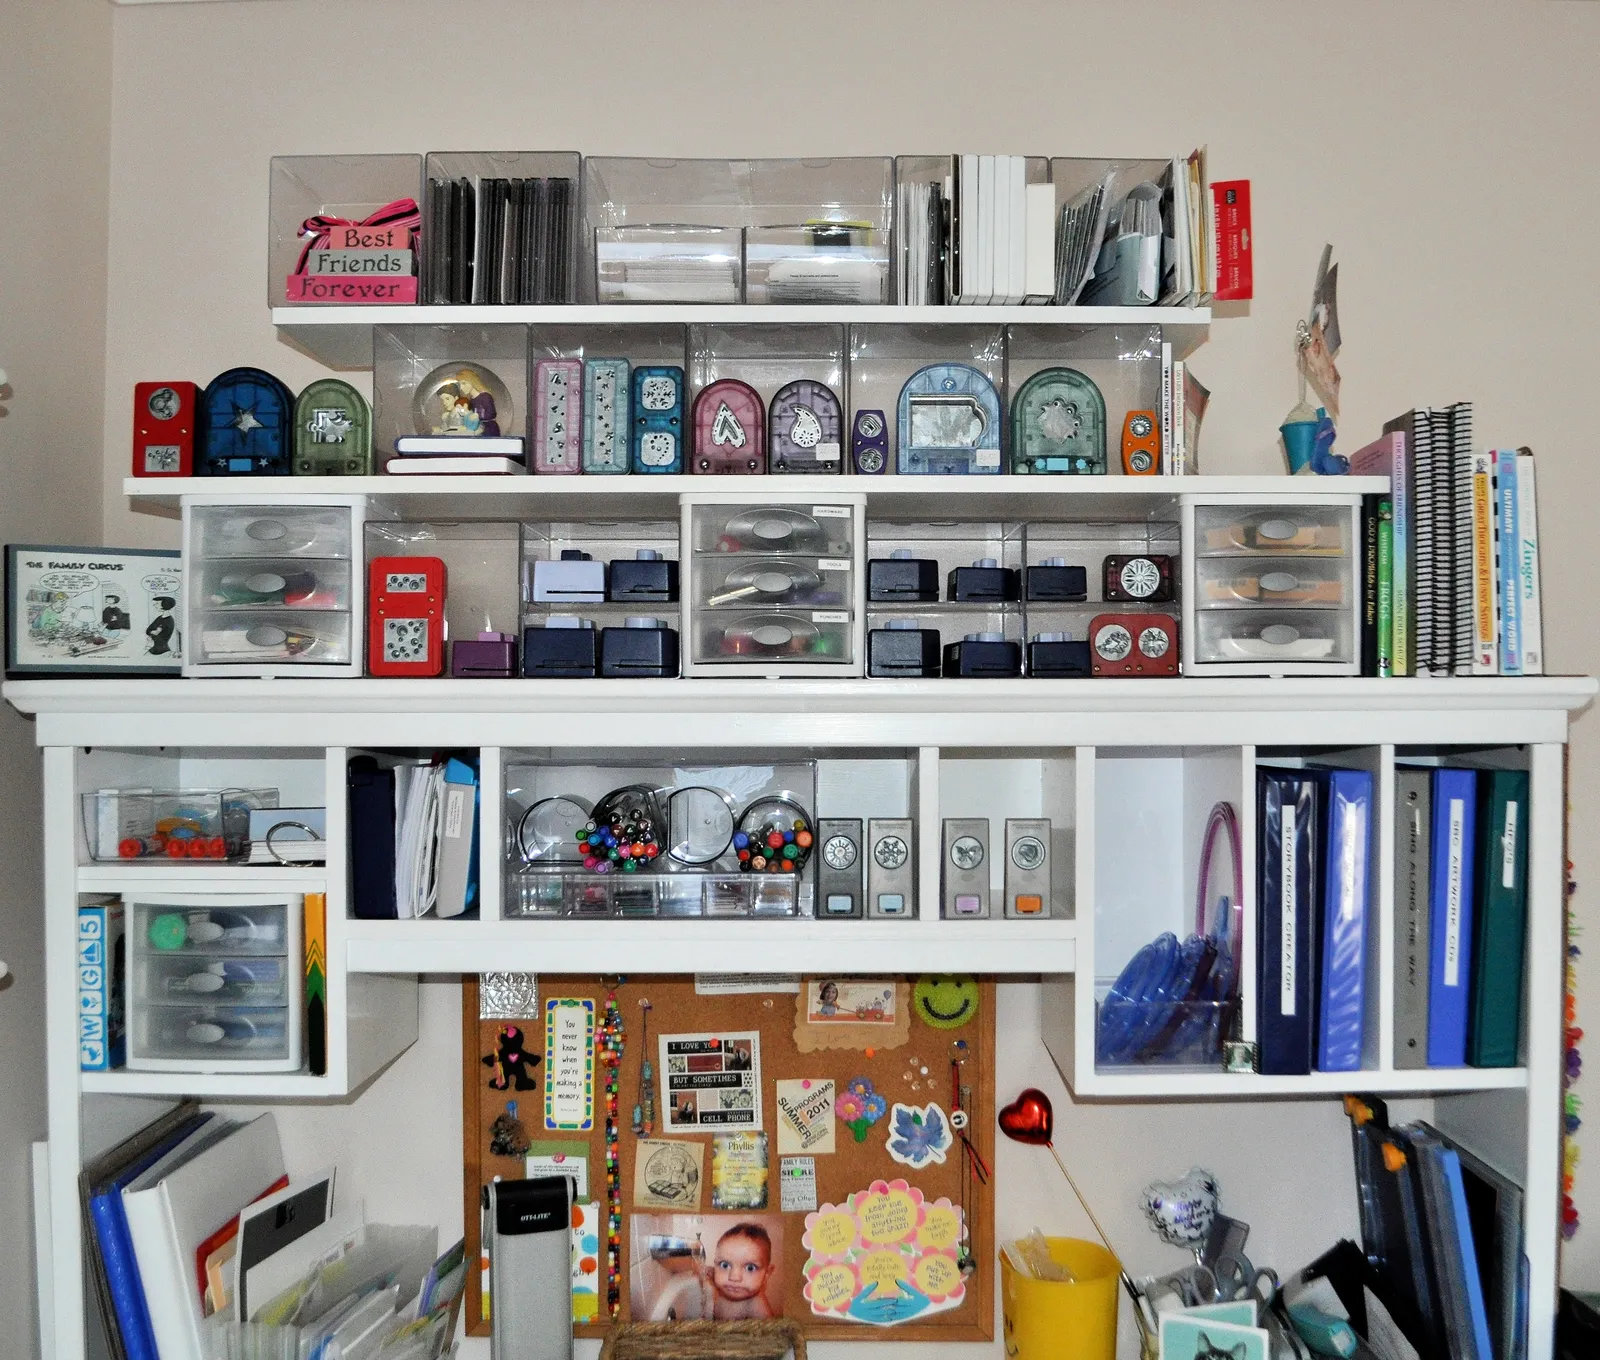
(I added vertical storage to the hutch pictured above by resting white shelves I purchased on top of other storage cubes and drawers. The cubes and drawers are still usable and the shelves add LOTS of additional space. I could go higher if I wanted to, but I’m not that tall!)
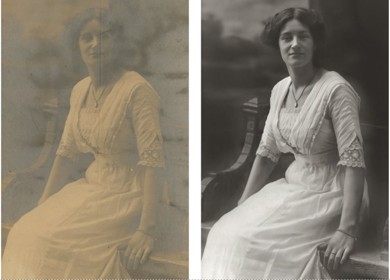
- Do you have old, falling-apart albums that need to be redone? The magnetic page kind with the sheet of plastic that covers over the photos and sticks to the page? Are they yellowing and fading your photos? This is a great, easy project because those photos are already in the correct order and in many cases, there is already some sort of journalling on the page! All you have to do is remove them from the old album (if the photos are STUCK, try a length of dental floss – slip it under an edge and then work it all the way to the other side, gently removing the stuck photo) and put them safely in the new one. One advantage to this as a first project is that you can easily find what you need (order a Fast2Fab or multi-pocket album from my website to make it beautiful and simple) and carry it with you to a crop or to the dining room table to work on it! The second, I think more important, advantage is that with just a small amount of time invested, you now have a beautiful album full of memories and stories, instead of an album that is falling apart and not a blessing to look through at all!
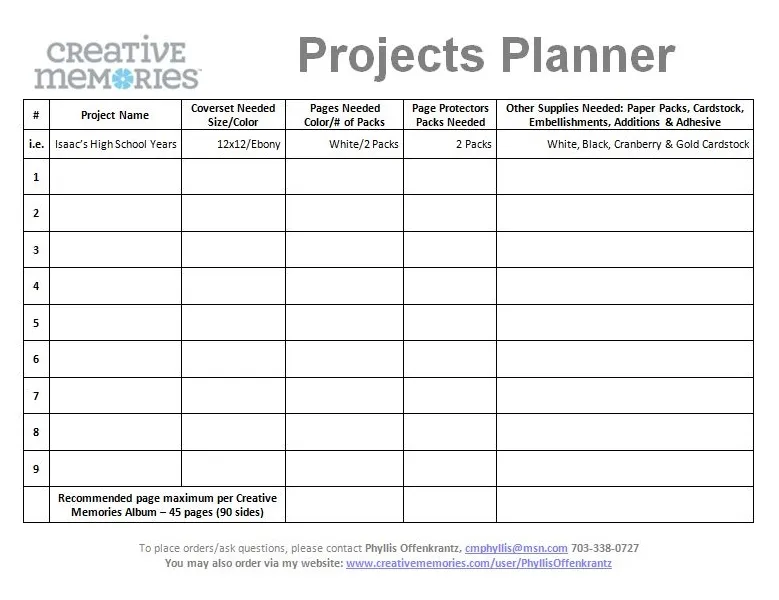
- I gave my friend several copies of my “Projects Planner”, which gives you a place to write down ALL the albums you want to make and what you need in order to make them. Once you’ve listed them all, you can decide in which order to do them, and what you need to complete them. Let me know if you’d like a copy of this to use for YOUR projects!
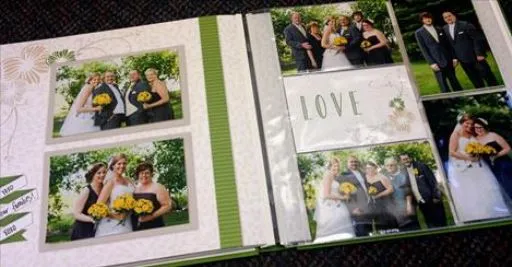
- Even if you have a shelf full of albums that you have not yet completed, and lots of papers and stickers and every other thing that can be put on a page, you might want to consider buying a few multi-page albums or Fast2Fab albums so that you can get a few albums completed really quickly. This will “jump start” your album making and get you excited about it again. Then, you can go back to the other empty albums if you want, and complete those.
You can even combine the Fast2Fab (or plain) pages with the Multi-Pocket pages, for a quick and easy album.
I hope this has been helpful to you. Please contact me if you need help figuring out where to start! Just leave a comment on this post and I’ll get back to you. Or, if you know what you need, just go to my website, www.creativememories.com/user/PhyllisOffenkrantz and order from there.
Happy scrapping!