How can I get all my (printed) photos organized?
· Updated September 3, 20263 min readphoto organizing
Organizing photos can daunting. Even the THOUGHT of organizing photos can be daunting!
Organizing photos can daunting. Even the THOUGHT of organizing photos can be daunting! Nowadays, with most everyone having a camera on their cell phone and with pictures being taken everywhere we go (“Look! It’s my LUNCH!”), the number of photos we all have in our possession has risen exponentially. What can we do about it? How can we get them under control?
Today’s blog will show one way to organize your printed photos (organizing digital images will the the topic of another blog on another day). I’ll give you some basic steps to follow; they don’t all have to be done on the same day. Break it up if you have to (you probably will!) and remember that the way you eat an elephant is “one bite at a time”. Remember, this is one way to do it. There may be others that will work better for you, but the main point is to get started!
Designate a place for photos and then go all around the house and grab all the photos you find and put them in that place. Yup, look in the kitchen drawers, the shoebox in your closet, your nightstand, under the bed – wherever they may be hiding. You don’t need to include any photos that you are displaying in frames or on your fridge, if you don’t want to. But framed photos that are not currently being displayed are fair game.
Once you’ve done step #1, it’s time to start sorting. This can be done in many ways. Do you want your photos sorted chronologically? By type of events (sports, drama, Christmas, Birthdays, etc.)? By family member? There’s no right answer here. It depends on how you plan to use them in the future. Do you want to be able to find all of Johnny’s pictures and give them to him or put them in a “Johnny” album? Would you prefer to have them by year so that you can put your finger on a particular photo that you know was taken in 1990? Would you like all of the sports/drama/band/whatever pictures together? Pick a system and move on to step #3.
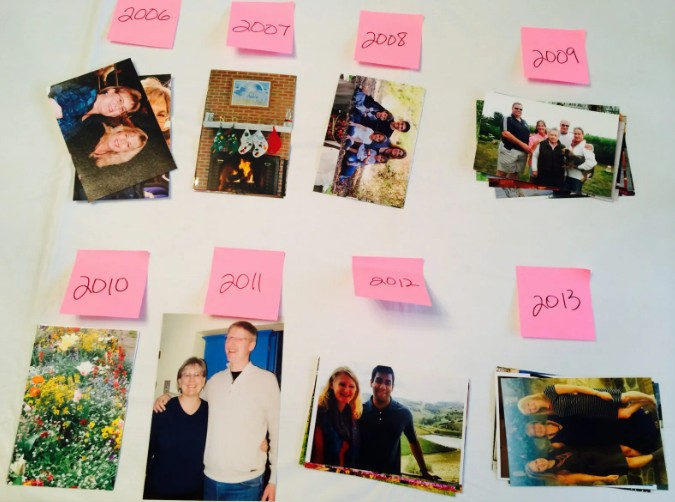
Find a flat surface, as large a one as you have available to work on. Dining room table, kitchen counter (make sure it’s dry first!), even the living room floor while you watch TV. Make sticky notes or index cards for each topic/year. Lay them on the surface, leaving enough room to put photos below them.

Take a stack of photos and start “dealing”. If you have photos that are in the envelopes they came in from the developer, they may have a date on them. If so, take the photos out, put them in the right stack and keep the negatives in the envelope. You can deal with negatives later (or not – some people don’t care about negatives and just throw them out.)
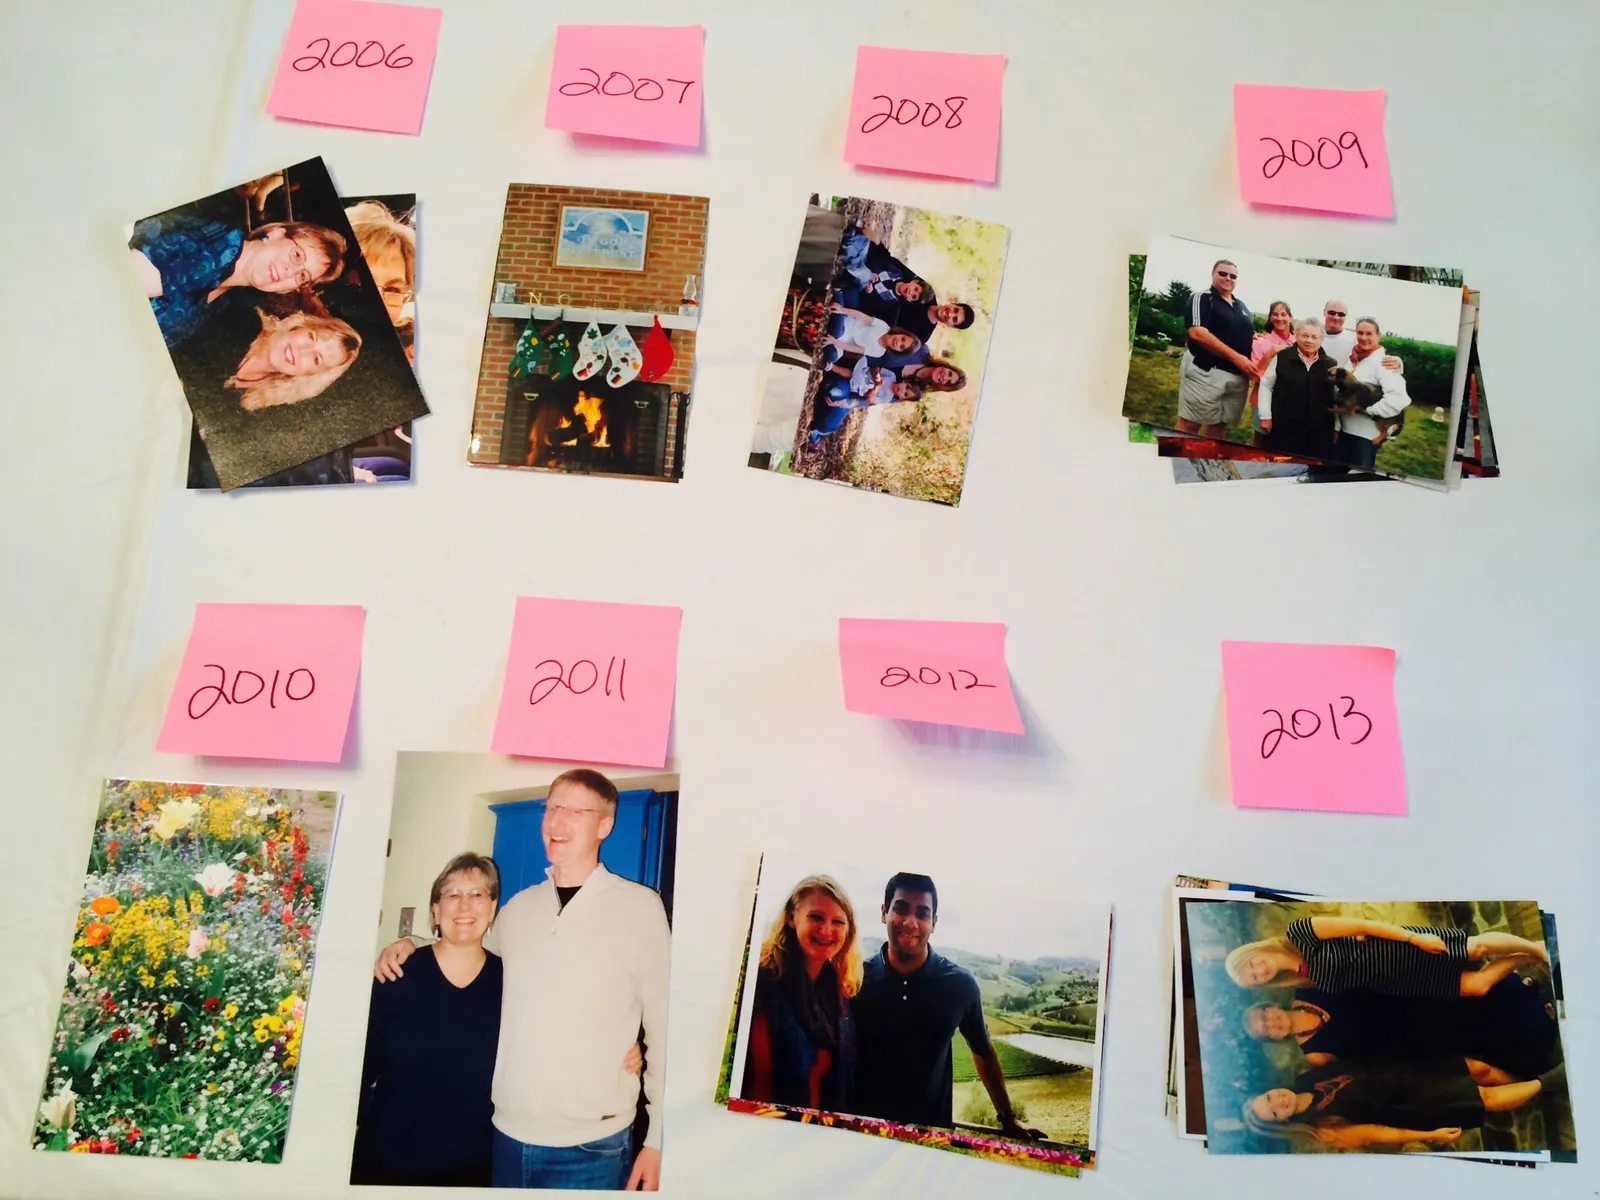
Spend as much time as you want to/have sorting the stacks of photos. If you have to stop and the job is not done, simply stack up the individual stacks and then lay them out again the next time and keep going. NOTE: If you are using sticky notes, DO NOT stick them to the front of a photo when you stack them up. That might ruin the photo’s finish (and therefore, the photo!). Either turn the top photo over and stick the sticky note to the back of it, or stick it to a piece of paper to separate the stacks.
Once you are completely done with the stack/bin/box/whatever of photos to be sorted, you can use the same system to do a secondary sort of the stacks (so, for yearly stacks, you could sort into months; for sports stacks, you could sort into individual sports; etc. If you come across a photo that you really have no idea what month/sport/whatever it belongs in, just give it your best guess and keep moving. After all, not too long ago it was under your bed!
Once your sorting is complete, store your photos in a photo-safe box – more on that later!
That’s all for today. Hope this helps you figure out a system for sorting your printed photos. It’s a great rainy/snowy day project and believe me, it feels great when it’s done.